Wednesday 26 March 2014

Lifting Tulip Bulbs

I am not much of a flower gardener. If you looked at my front (north facing) garden, you wouldn't imagine for a second that I had enough interest in gardening to write a blog about it. I don't buy in much plants and prefer to set random bulbs and seeds, just to see what happens. It's hit and miss. Like many people, I love my bulbs like tulips, daffodils, dahlias and hyacinths. My first year growing tulips gave me a magnificent border of reds, oranges, yellows, pinks and deep purples. In fact, the Google street view image of our house was taken when they were in full bloom. It was a stroke of luck because the garden has never looked as good since. The next year only half the bulbs flowered and they were all yellow. 


Unlike daffodils which spread and seem to get stronger each year (although I have read that the bulbs should be lifted and stored every five years), tulips benefit hugely if you dig them up every year, once flowering has ended and the stalks are browning, and store them in a warm, dry place until planting season comes around again.


Last year, I took up some random bulbs that I found by accident when digging around the garden and left them in the greenhouse all summer and autumn. I didn't even do it on purpose, just threw them in there. When the planting season came, I planted them in pots - narcissuses, hyacinths and one tulip. Out of all the tulip bulbs in my garden, the potted one is the only one that is set to bloom:


All others look like this (the mottled thick green stalks):


And this:


Even though it is early to lift the bulbs, I couldn't wait. I knew if I didn't do it then (yesterday), I would let it go by the wayside and have the same problem next year. So I got on my knees and carefully prised them from their hiding places. Most of the bulbs had formed new tiny bulblets. I left the leaves attached as best I could so they can naturally die back.


I'll lay them out on newspaper until dry and once the stalks have browned, I'll store in a cardboard box until next Autumn when they will be planted out again.

Tuesday 25 March 2014

Growing Leeks in Ireland

This is my first year growing leeks and I want to make a passionate effort to succeed. There is some effort required and the seed packet instructions fall a bit short of directing you towards a decent crop. Leeks can be sown in situ but sowing in a seed bed/module is preferable as it allows deep planting.

There are a few stages involved:

Stage 1: Sowing the seed


Normally from March-April. Plant your seed in modules (I am using empty toilet rolls) of moist compost. A depth of 1cm is commonly advised. I have also been told that seeds should be covered by a layer matching their own depth. Keep the soil moist. A mild place is suitable for the seedlings (10-15˚F).


Stage 2: Planting Out

This occurs about two months after planting, when leeks are pencil-thick and about 8 inches long.

Leeks are hungry so plant out in prepared ground that has been fertilised (e.g. manure/compost). Using a dibber (or a twig found on the ground if you are me!), make a hole about 6 inches deep. Place the leek in the hole and fill up with water, not soil.


Stage 3: Earthing Up


The reason the planting hole is filled with water, not soil, is to allow the leek to be covered gradually. This will happen naturally as soil is washed into the water, slowly taking over. Once the hole is filled, the stems must be gradually earthed up further - say a layer of soil/organic matter once a week. This process of slowly covering the leek is to achieve the white (blanched) stem, which we all know is the best part and makes the vegetable look so magnificent. Try to build the soil up by dragging it from all sides to surround the leek, rather than shovelling it on, as it may get inside the layers of the vegetable.


The leek is a slow maturing crop and most varieties will withstand extreme weather to stay in the soil all winter. Healthy plants require ample spacing of about 9 inches each way.


Stage 4: Harvesting and Eating!


As you can see, the stem is nicely blanched with a lot of white. My earthing up paid off.


Depending on sowing times and varieties, your crop will be ready to enjoy from early winter. I eat leek mostly in a casserole with chicken and sausages, or in soup. If you have any better suggestions, please leave a comment!


Wednesday 19 March 2014

Leggy Seedlings


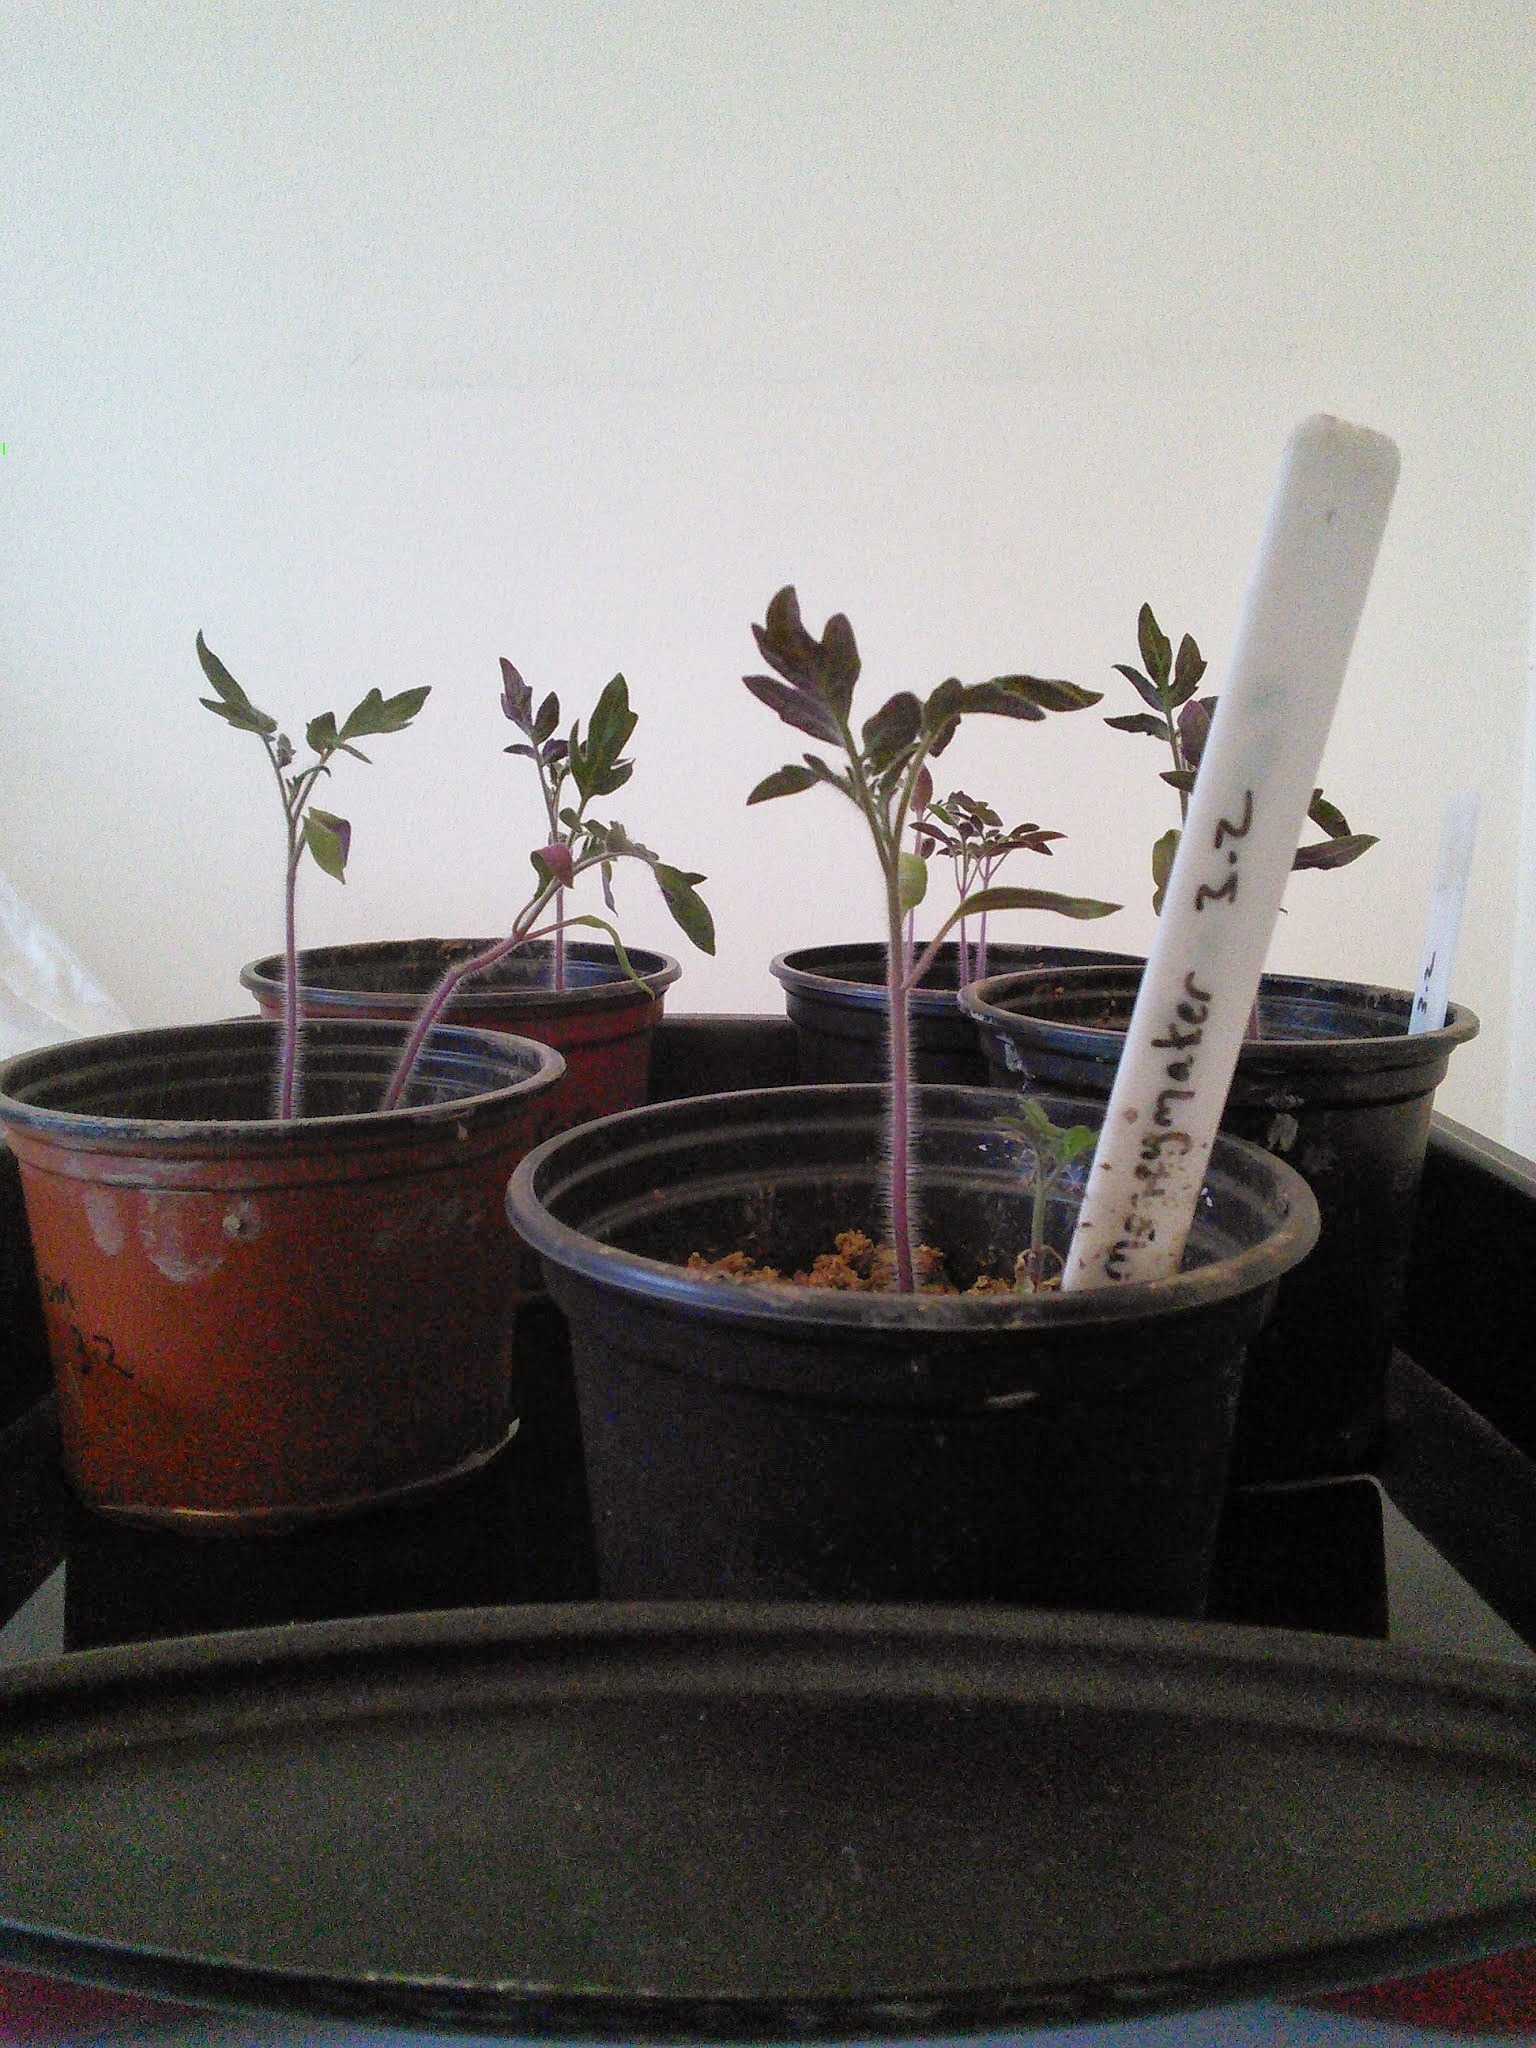
If, like my tomato plants, your seedlings are a bit elongated, it can be rectified somewhat at the potting on stage. Bury the stems deep covering the seedlings up to their leaves and help them get some strength back.

Reasons for leggy seedlings/plants


1. Insufficient light

Indoor sowings are particularly susceptible to a lack of light as they can usually only get it from one direction and strain themselves towards the source. Regular rotating of plants will help with this problem.

2. Over-fertilisation

An imbalance of nutrients, particularly high Nitrogen levels, will result in too much green growth and a lack of flowers. Potassium and Phosphorous encourage fruit and flower development.

3. Incorrect Potting Technique

I am guilty of this and it only dawned on me this year, after many of my seeds had been planted. I am by no stretch an experienced gardener but this is my third year dabbling and I am still making rookie mistakes that seem so obvious once I realise them.

Instead of using seed trays with tiny modules, I often plant seeds directly into large pots. My logic was that (a) it would reduce the amount of times the plant would have to be potted on and (b) the seed would have plenty room and nutrients because it had no competition. I was wrong, oh so wrong.

The reason for starting seeds in small pots/modules and potting on in stages is:

(a) It promotes good root development. It is when the root hits a barrier (the pot base) that it develops from a long tap root into a fibrous one, sending out branches. This strengthens the root. By planting my seeds in a big pot, the root was just growing straight down, making no attempt to build itself up.

(b) Using large pots causes the soil to become anerobic and lack oxygen. Following on from poor root development, lack of activity in the soil (assuming there are no earthworms in the pots) causes conditions to become stagnant. This does not entice healthy plant development. Increasing pot size as the plant grows is the best practice.


Just look at my poor purple sprouting broccoli! Let them be a lesson to you.


Thursday 13 March 2014

Bringing Life To A Tasteless Strawberry

It's March and it's sunny and I have a tub of delicious vanilla ice cream in the freezer that is all alone. It needs a berry friend. Strawberries, considered the king of berries by many, have always left me disappointed. They look beautiful and promising but too often a bite into that ruby fruit leads to a watery and tasteless experience. Or maybe that's just the supermarket selection. I have enjoyed a punnet of Wexford strawberries in season from a seller on the side of the road. But my choice in March hails from Spain and the taste leaves me wanting. So no better time than to try out something I've heard a lot about - strawberries marinaded in balsamic vinegar. 

Could this crazy concoction work or would it just lead to bitter, soggy fruit? No, my friends, no. I am glad to say that this method of serving strawberries is a winner and adds a sweetness to the fruit that was not there before (well there is sugar in the recipe but the vinegar adds a syrupy quality and the pepper gives it an edge).


Ingredients


Strawberries

Balsamic vinegar

Sugar

Black pepper

Measurements are to taste


Method


Slice the strawberries, drizzle with balsamic vinegar and sprinkle with sugar.

Cover and leave to sit for an hour.

Before serving, give a twist of black pepper.


Strawberries meet ice cream.....